A fresh coat of paint can transform any room, but to achieve a professional finish, proper wall preparation is essential. This is especially true in spaces like bathrooms, where moisture and humidity can pose additional challenges. Whether you’re undertaking a DIY project or hiring a house painting service in Frisco, TX, thorough preparation will ensure the best results. This guide provides comprehensive steps and tips for preparing your walls for a new paint job, helping you achieve a flawless finish.
Table Of Contents
Assessing and Cleaning the Walls

Before you can start painting, it’s crucial to assess and clean your walls. This ensures that the paint adheres properly and looks smooth and uniform.
Inspecting the Walls
Start by inspecting your walls for any damage or imperfections that need to be addressed.
- Cracks and Holes: Look for cracks, holes, or dents in the walls. These imperfections can affect the final look of your paint job.
- Mold and Mildew: Check for any signs of mold or mildew, especially in bathrooms. These need to be treated before painting to prevent recurrence.
- Peeling Paint: Identify areas where the old paint is peeling or blistering. These sections need special attention to ensure the new paint adheres properly.
Cleaning the Walls
Cleaning the walls removes dirt, grease, and grime, which can prevent paint from sticking.
- General Cleaning: Use a mild detergent mixed with water to clean the walls. A sponge or cloth can help remove surface dirt.
- Stubborn Stains: For tougher stains, especially in kitchens or bathrooms, use a degreaser or a mixture of vinegar and water.
- Rinsing: Rinse the walls with clean water to remove any soap residue, and allow them to dry completely before moving on to the next step.
Removing Mold and Mildew
If you find mold or mildew, it’s essential to treat it properly.
- Cleaning Solution: Mix one part bleach with three parts water to create a cleaning solution. Use this to scrub the affected areas.
- Prevention: Ensure the room is well-ventilated to prevent future mold growth. Consider using mold-resistant paint, especially in bathrooms.
Repairing and Priming the Walls

Once your walls are clean, the next step is to repair any damage and apply primer. This prepares the surface for painting and helps achieve a smooth finish.
Patching and Sanding
Repairing any imperfections ensures a smooth, even surface for painting.
- Filling Holes and Cracks: Use a high-quality filler or spackle to fill in holes and cracks. Apply with a putty knife and smooth it out.
- Drying Time: Allow the filler to dry completely according to the manufacturer’s instructions.
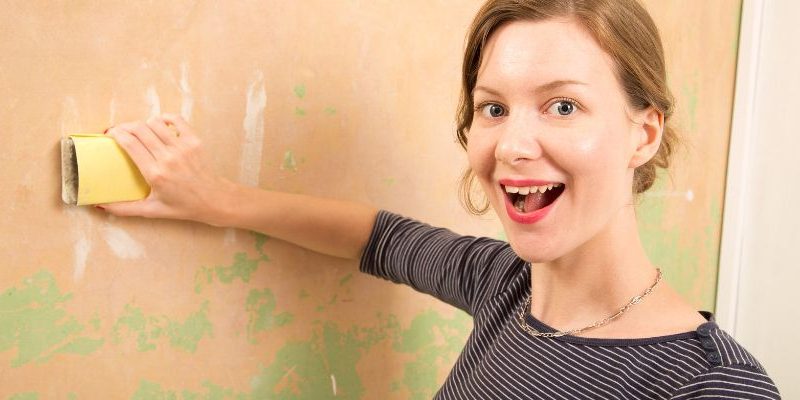
- Sanding: Sand the filled areas with fine-grit sandpaper until they are smooth and level with the rest of the wall. Sanding also helps remove any rough patches and creates a smooth surface for the primer.
Applying Primer
Primer is a crucial step in preparing your walls for paint. It helps the paint adhere better and provides a uniform base for the color.
- Choosing the Right Primer: Select a primer that suits the type of paint and the condition of your walls. For bathrooms, consider a moisture-resistant primer.
- Application: Apply primer evenly using a roller for large areas and a brush for edges and corners. Ensure full coverage to create a consistent base for the paint.
- Drying Time: Allow the primer to dry completely before painting. This usually takes a few hours, but it’s best to follow the manufacturer’s instructions.
Dealing with Stains
For walls with stubborn stains, an additional step may be required to ensure they don’t bleed through the new paint.
- Stain-Blocking Primer: Use a stain-blocking primer on areas with persistent stains. This type of primer is designed to cover and seal stains effectively.
- Multiple Coats: In some cases, multiple coats of stain-blocking primer may be necessary to completely seal the stains.
Choosing the Right Paint and Tools

Selecting the right paint and tools is essential for a successful paint job. The right choices can make the process easier and ensure a long-lasting finish.
Selecting the Best Paint
Choosing the best paint for bathrooms or other high-moisture areas is crucial for durability and aesthetics.
- Paint Type: For bathrooms, use a paint that resists moisture and mold. Semi-gloss or satin finishes are ideal as they are more resistant to moisture and easier to clean.
- Quality: Invest in high-quality paint. It may be more expensive, but it offers better coverage and durability.
- Color Selection: Choose colors that complement the rest of your decor. Lighter colors can make a room feel more spacious, while darker shades add warmth and coziness.
Gathering the Right Tools
Using the right tools can make a significant difference in the quality of your paint job.
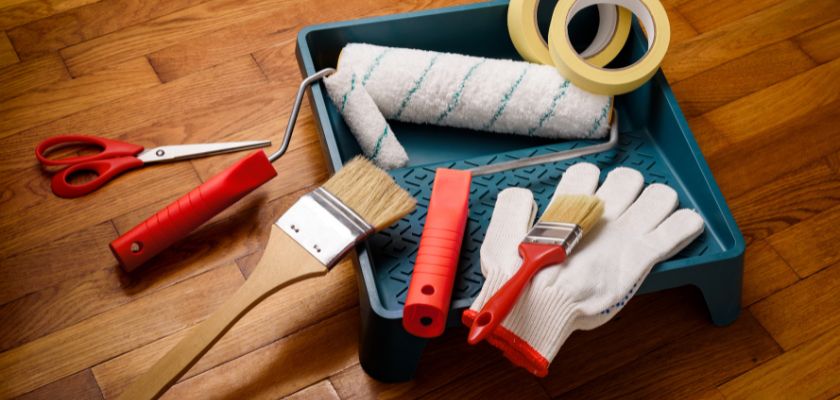
- Brushes and Rollers: Choose high-quality brushes and rollers that are suitable for the type of paint you’re using. Angled brushes are great for edges and corners, while rollers are ideal for large, flat surfaces.
- Painter’s Tape: Use painter’s tape to protect edges and create clean lines. Apply it to baseboards, trim, and around windows and doors.
- Drop Cloths: Protect your floors and furniture with drop cloths. This helps catch any drips or spills and keeps your workspace clean.
Preparing the Paint
Properly preparing your paint ensures smooth application and a professional finish.
- Stirring: Stir the paint thoroughly before use to ensure an even consistency.
- Pouring: Pour the paint into a tray for easy access while painting. This also helps control the amount of paint on your brush or roller.
- Testing: Test a small area to ensure the color and finish meet your expectations before proceeding with the entire room.
Painting Techniques for a Professional Finish
Applying the paint correctly is the final step in achieving a flawless finish. Follow these techniques to ensure a professional-looking result.
Cutting In
“Cutting in” refers to painting the edges and corners of the walls before using a roller on the larger areas.
- Using an Angled Brush: Use an angled brush to carefully paint along the edges where the roller won’t reach, such as along baseboards, trim, and ceiling lines.
- Smooth Strokes: Apply the paint in smooth, even strokes to avoid drips and ensure full coverage.
Rolling the Paint
Rolling the paint on the larger areas of the wall ensures a uniform finish.
- Loading the Roller: Dip the roller into the paint tray and roll it back and forth to evenly load it with paint.
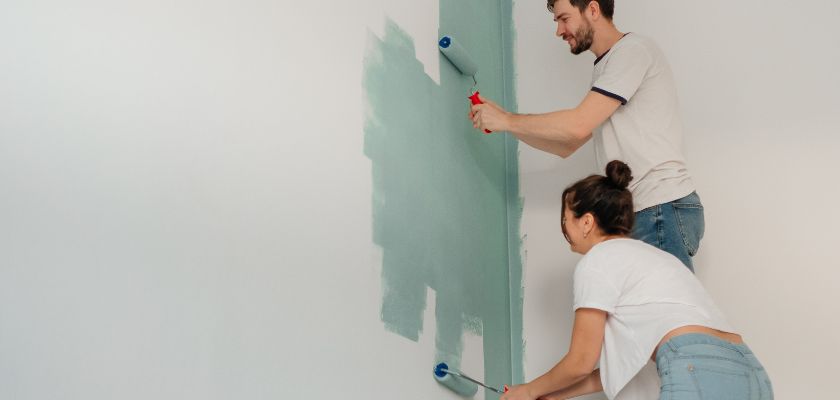
- Applying the Paint: Roll the paint onto the wall in a “W” or “M” pattern, then fill in the gaps with parallel strokes. This technique helps distribute the paint evenly.
- Multiple Coats: Apply multiple thin coats rather than one thick coat. This ensures better coverage and a smoother finish.
Final Touches
Once the main painting is done, add the finishing touches to complete the job.
- Removing Tape: Carefully remove the painter’s tape while the paint is still slightly wet to avoid peeling off any paint.
- Touch-Ups: Inspect the walls for any missed spots or imperfections and touch them up as needed.
- Drying Time: Allow the paint to dry completely before moving furniture back into the room or using the space.
Final Wording
Proper wall preparation is the key to a successful paint job. By taking the time to assess, clean, repair, and prime your walls, you set the stage for a smooth and lasting finish. Selecting the best paint for bathrooms and other areas, gathering the right tools, and using proper painting techniques further ensure a professional result.
Whether you’re tackling a DIY project or hiring a house painting service in Frisco, TX, following these tips will help you achieve a beautiful and durable finish. A well-executed paint job not only enhances the aesthetic appeal of your space but also protects your walls and extends their lifespan.
Remember, the key to a successful paint job lies in meticulous preparation and careful execution. With the right approach, you can transform any room in your home, creating a fresh and inviting atmosphere that you’ll enjoy for years to come.
FAQ’s
1. Why is it important to clean walls before painting?
Cleaning walls removes dirt, grease, and grime that can prevent paint from adhering properly. It ensures a smooth, uniform finish and helps the paint last longer.
2. How do I choose the best paint for bathrooms?
For bathrooms, select moisture-resistant paint like semi-gloss or satin finishes. These types resist mold and mildew, are easy to clean, and withstand high humidity levels.
3. What should I do if I find mold or mildew on my walls?
Treat mold or mildew by scrubbing the affected areas with a mixture of one part bleach to three parts water. Ensure the room is well-ventilated to prevent future growth. Consider using mold-resistant paint for added protection.
4. Why is primer important before painting?
Primer helps paint adhere better to the walls, provides a uniform base for the color, and can cover stains or previous colors. This step is crucial for achieving a professional-looking finish.
5. What tools do I need for a successful paint job?
You’ll need high-quality brushes and rollers suitable for your paint type, painter’s tape to protect edges, drop cloths to cover floors and furniture, and a paint tray for easy access. These tools ensure a smooth application and clean finish.


